Advanced
Advanced configuration and guidelines for Sparrow Home.
Setting up push notifications
Setting access to you application by VPN
Monitoring your Sparrow Home system
How to add additional users to Sparrow Home
Push Notifications
Push notifications require a secure connection to work. By default, the Sparrow home application is served by the Caddy web server and provides a default certificate.
Tailscale and VPN
One of Tailscale's features is providing a secure connection to local services. When integrated with the Caddy server, Tailscale acts as a network layer: after a device joins the Tailnet, you can connect to the application using the assigned DNS name. See the VPN setup guide for instructions.
Once the domain is configured, Caddy will be reachable via the specified DNS name, and the TLS/Tailscale connection will provide secure delivery of push notifications.
Remember to restart Docker containers after changing the .env file.
Access by VPN
Secure Remote Access with Tailscale VPN
Why connect Sparrow Home with a VPN like Tailscale?
Sparrow Home is typically hosted locally (for example, on a Raspberry Pi inside your home network). By default, this means the system is only accessible when you are connected to the same Wi-Fi. If you want to control your smart home while away (from your phone or laptop), exposing Sparrow Home directly to the public internet is not recommended. Opening router ports or using public IP addresses can significantly increase the risk of unauthorized access. That’s why Sparrow Home can be securely accessed through a private VPN network such as Tailscale.
With Tailscale, Sparrow Home becomes part of an encrypted private network, allowing you to:
- Access your dashboard from anywhere without port forwarding
- Keep Sparrow Home hidden from the public internet
- Use end-to-end encrypted connections (WireGuard-based)
- Connect only trusted devices (phone, laptop, tablet)
- Avoid complex DNS and SSL configuration
This approach provides a secure and simple way to manage your home system remotely while maintaining strong privacy and protection.
Documentation: https://tailscale.com/kb/1017/install
https://tailscale.com/security
How to set up Sparrow Home with Tailscale
Getting started with Tailscale is straightforward and requires only a few steps:
- Install Tailscale on your Sparrow Home server On the machine running Sparrow Home (e.g. Raspberry Pi), install the Tailscale client and log in.
https://tailscale.com/kb/1017/install
- Install Tailscale on your personal devices Install the app on your phone or laptop to join the same private network.
iOS: https://tailscale.com/kb/1020/install-ios
Android: https://tailscale.com/kb/1022/install-android
- Access Sparrow Home via its private Tailscale IP Once connected, Sparrow Home will be reachable through a stable private address such as:
http://100.x.y.z
This works securely even outside your home Wi-Fi.
Enabling SSL
To enable SSL, activate the HTTPS option in the Tailscale admin console (under Settings). Next, set tailscaleDomain
in your .env
file to your exact Tailscale domain name. The Caddy web server will then automatically redirect all HTTP traffic to HTTPS
and obtain a valid SSL certificate.
Remember to restart Docker containers after changing the .env file.
Home Surveillance (Planned)
More to come! Please check the Roadmap for updates on this topic.
Additional Users
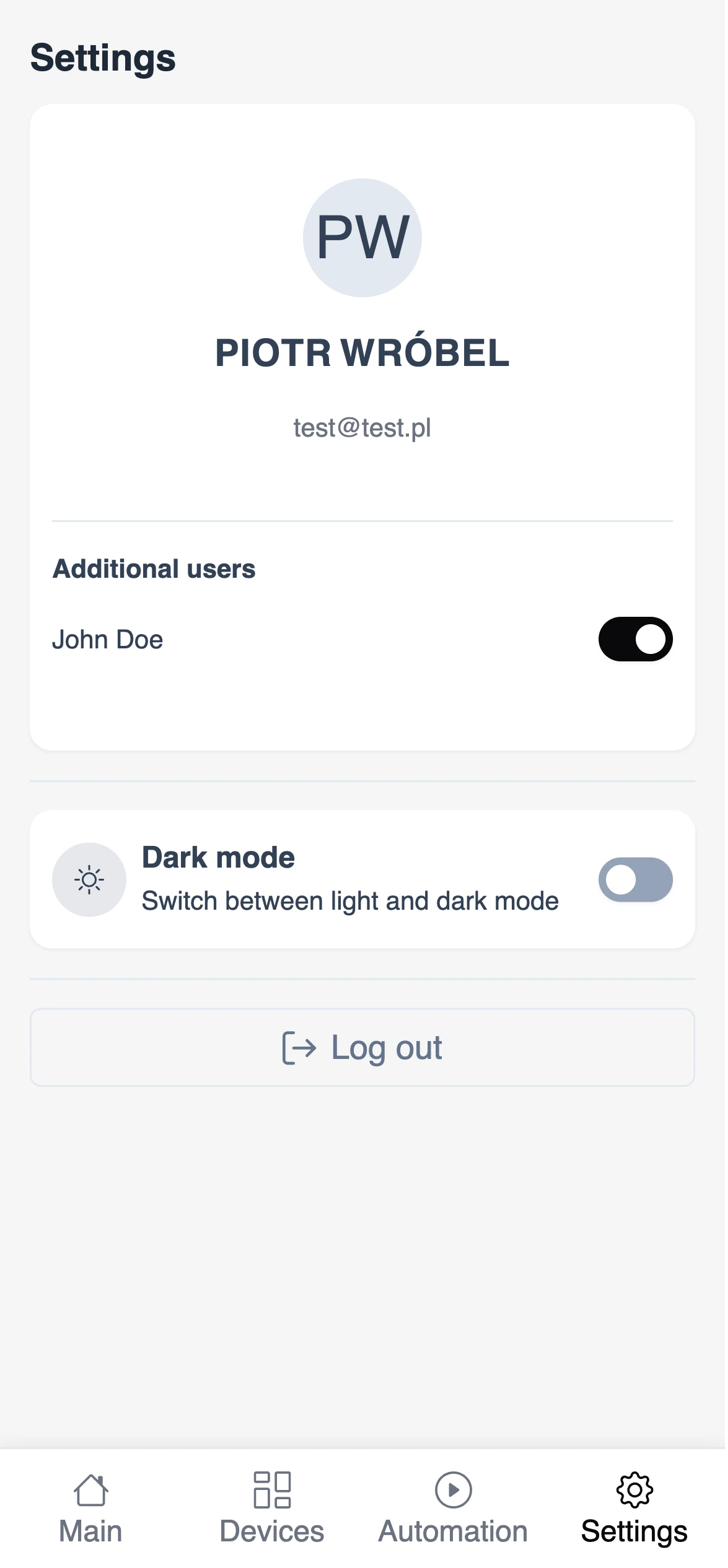
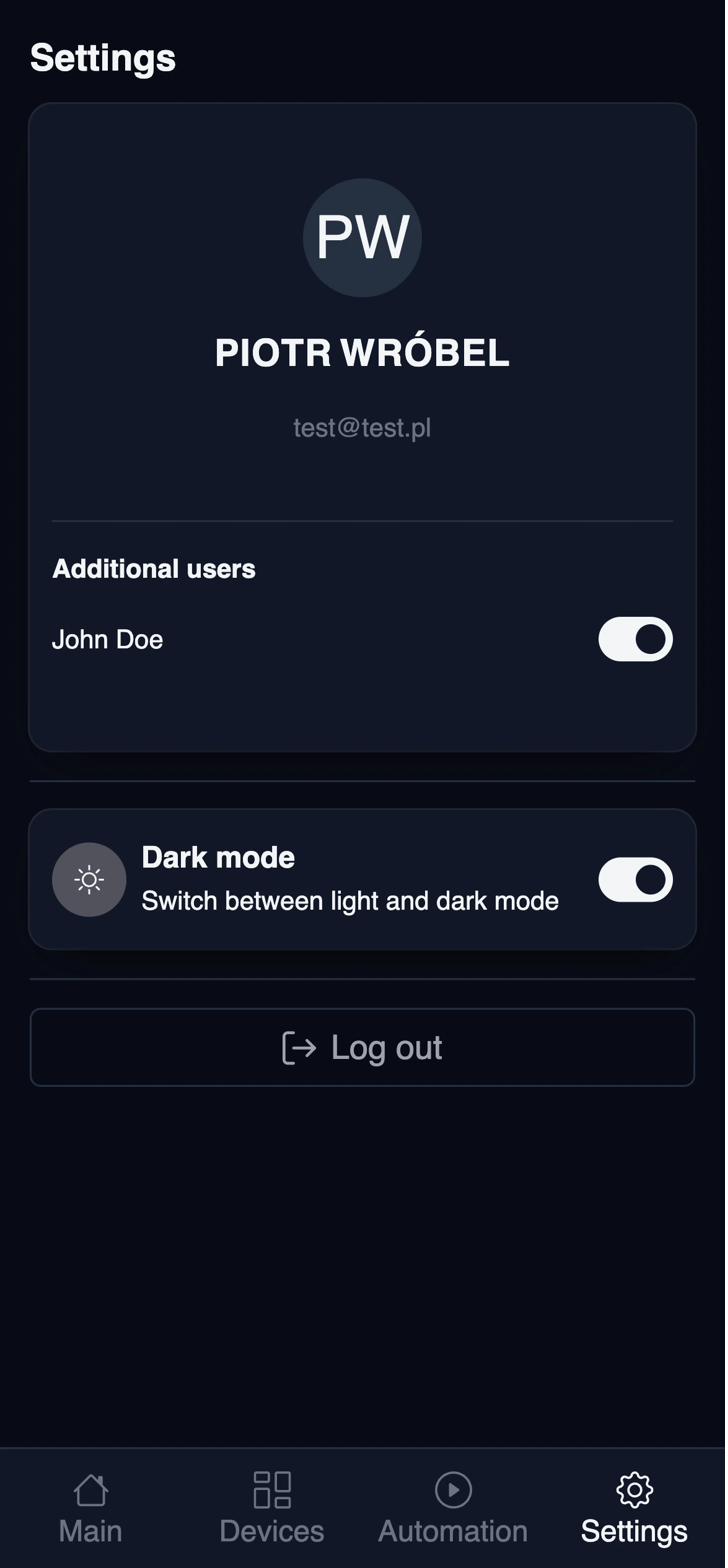
Current user configuration can be found in Settings menu at bottom of the screen.
Main user (owner)
The first user created in Sparrow Home is the main user. This user has the owner role of the system and can also manage other users, allowing them to be able to log in.
Adding Additional Users
If you wish to add additional users to Sparrow Home, click on the "Create account" link button on the login screen. You will be prompted to enter users data. The email must be unique and not already taken by another user, as it is used as a username.
After filling in the required information, click on the "Create account" button to create the new user.
In order to be able to log in, the owner must first activate the user account.
Managing Users
The owner can manage users in the system by navigating to the "Users" section in the settings menu. Here, you can see the list of all additional users in the system. You can also activate or deactivate user accounts, allowing or preventing them from logging in.